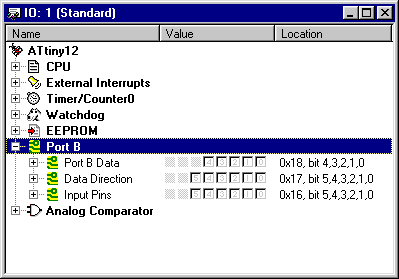
Customizing the I/O Window
The I/O window can be configured any way the user would like. This makes it easy to make a customized setup of the window for a particular application or project. The easiest way to make a customized I/O window is to base the window on a standard I/O configuration for the device. Unnecessary register items can be removed, and additional register items can be added. Also, items can be hidden and then displayed later. The properties of every item can be individually configured.
Adding register items
Register items can be added by selecting the item which will be the parent item of the
new item, and the pressing Insert on the keyboard or by selecting
Add... on the right mouse button menu. AVR Studio then inserts a uninitialized
register item as a subitem of the selected item, and pops up the Properties box
for the new item.
Se the Item Properties section for more information on how to set the properties for register items.
Removing register items
To remove a register item, press Delete on the keyboard, or select Remove...
on the right mouse button menu. AVR Studio then prompts the user to confirm the deletion.
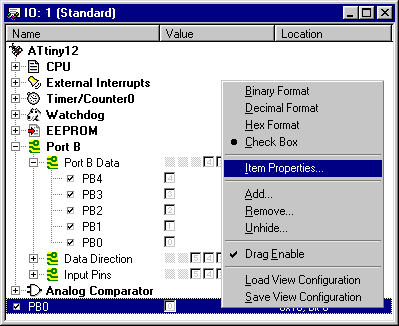
Hiding register items
Items can be hidden by pressing the H key or by selecting Hide on the right
mouse button menu.
Showing hidden items
To show a hidden item in the I/O window, select Show... on the right mouse button
menu. AVR Studio then pops up a list over all currently hidden items. Select the proper item
and then click OK to re-display the item.
Moving and copying register items
Register items can be moved or copied internally in a I/O window and between two I/O windows. To
do this, item dragging must be enabled by selecting the Drag Enable item on the right
mouse button menu.
When item drag is enabled, any register item can be dragged to another location. When releasing the item, it is inserted immediately before the item which is marked as selected, or as the last item if the mouse is positioned below all register items in the window. All sub items of the dragged item will also be moved. By pressing the Ctrl key when releasing the item, it will be copied instead of moved.
When dragging a register item to another I/O window, the item will automatically be copied instead of moved. By pressing the Ctrl key when releasing the item, the item will be moved, which means that it will be removed from the I/O window it was dragged from.
Saving and loading the configuration
The current configuration of the I/O window can be saved at any time by selecting the Save View
Configuration... on the right mouse button menu. AVR Studio then pops up a Save File dialog.
The default extention for the I/O window configuration is .aio.
In the same way, a configuration file can be loaded into a I/O window by selecting Load View
Configuration... on the right mouse button menu.
Advanced: How to change the standard configuration for a device
Normally, it is not neccessary to change the standard I/O window setup for a device, because each
debug project stores and restores its I/O window configuration automatically. However, if the user wants
to make a change to the I/O window configuration that appears every time the New IO Window menu
or toolbar button is pressed, this can be done by exchanging the standard I/O window configuration
file located in the IOSetup/ directory under the AVR Studio installation directory. The files
in this catalog are by default write-protected. Therefore, the write-protection for the standard
configuration file must be removed before replacing it with the custom configuration file.
Note: Always make a backup of a standard configuration file you are replacing. There is no way to restore the standard configuration file if you delete it. Also, be absolutely certain that the properties of all register items in the new configuration are correct. An incorrect I/O address or mask may be very hard to discover.
See Also